
How to Finish the Exposed Edges on Handmade Tile
How to Finish Exposed Edges on Handmade Tile (Without an Aluminium Trim or Schluter Strip)
Handmade tile - whether it's Zellige, handpainted Amano ceramic, or glazed Tierra ceramic - doesn't come with a factory-finished edge the way a machine-pressed porcelain tile does. Each tile is glazed on the face only, and all four sides are cut by hand and so wherever a run of tile ends on an open edge, the raw, unglazed body of the tile is exposed.


For tilers and trade, this is a job-planning and technique question. For homeowners and designers, it's a look-and-feel question. This guide covers finishing an exposed handmade or handpainted tile edge without falling back on an aluminium L-strip or Schluter trim, plus how Zellige, Tierra and Amano each behave differently when it comes to executing them.
Why Not Just Use an Aluminium Edge Trim/Schluter Strip?
An aluminium L-strip or Schluter profile is the standard, fast solution for finishing a tile edge for most Tilers - it's more forgiving of uneven tile thickness, and hides the raw edge in one clean line. Its a quicker and more simple way of edging a tile and is a perfectly valid choice, and plenty of trade jobs use it successfully.
But it also introduces a hard, machined, metallic/ metal line into a material that's defined by its handmade irregularity. It would not be our first choice or recommendation, In fact we feel in the case of handmade product it can really ruin an install. For a glazed, handpainted or hand-cut tile like Zellige, Amano or Tierra, that contrast can undercut the very texture and character the tile was chosen for. This is why designers and homeowners working with handmade tile increasingly ask their tiler for alternate trim and edging options. Below we have outlined three great suggestions;


Method 1: Mitred Tile Corners
The most labour-intensive of the three, and the only one that keeps the finish 100% tile - no metal, no plaster line, just the tile itself wrapping the edge.
How it works: the tiler cuts the return piece (the strip of tile sitting on the return face) at a 45-degree angle on the edge that meets the front-face tile, which is cut at a matching 45-degree angle. The two mitred edges butt together so the join sits on the corner itself, rather than showing a stack of tile thickness side-on - the same principle as mitring a timber skirting board or a stone benchtop edge.
For tilers and trade:
- Requires a wet saw with a fine, sharp blade and a steady, patient hand - handmade glazed tile is soft and can chip on a mitre cut if rushed.
- Because handmade tile has natural thickness variation tile-to-tile, each mitre needs to be cut and fitted individually rather than templated once and repeated.
- Price and schedule this as a specialist technique, not a standard day-rate tiling task.
For homeowners and designers:
- Gives the most seamless, handcrafted-looking corner with zero visible trim - the closest you'll get to how Zellige is traditionally finished by hand.
- Expect a higher labour cost line item for this detail specifically; ask your tiler to quote it separately so you understand what you're paying for.


Method 2: Plaster, Render or Grout Return
The most common trim-free finish we see in Australian bathrooms and kitchens - the most forgiving to execute and the most cost-effective.
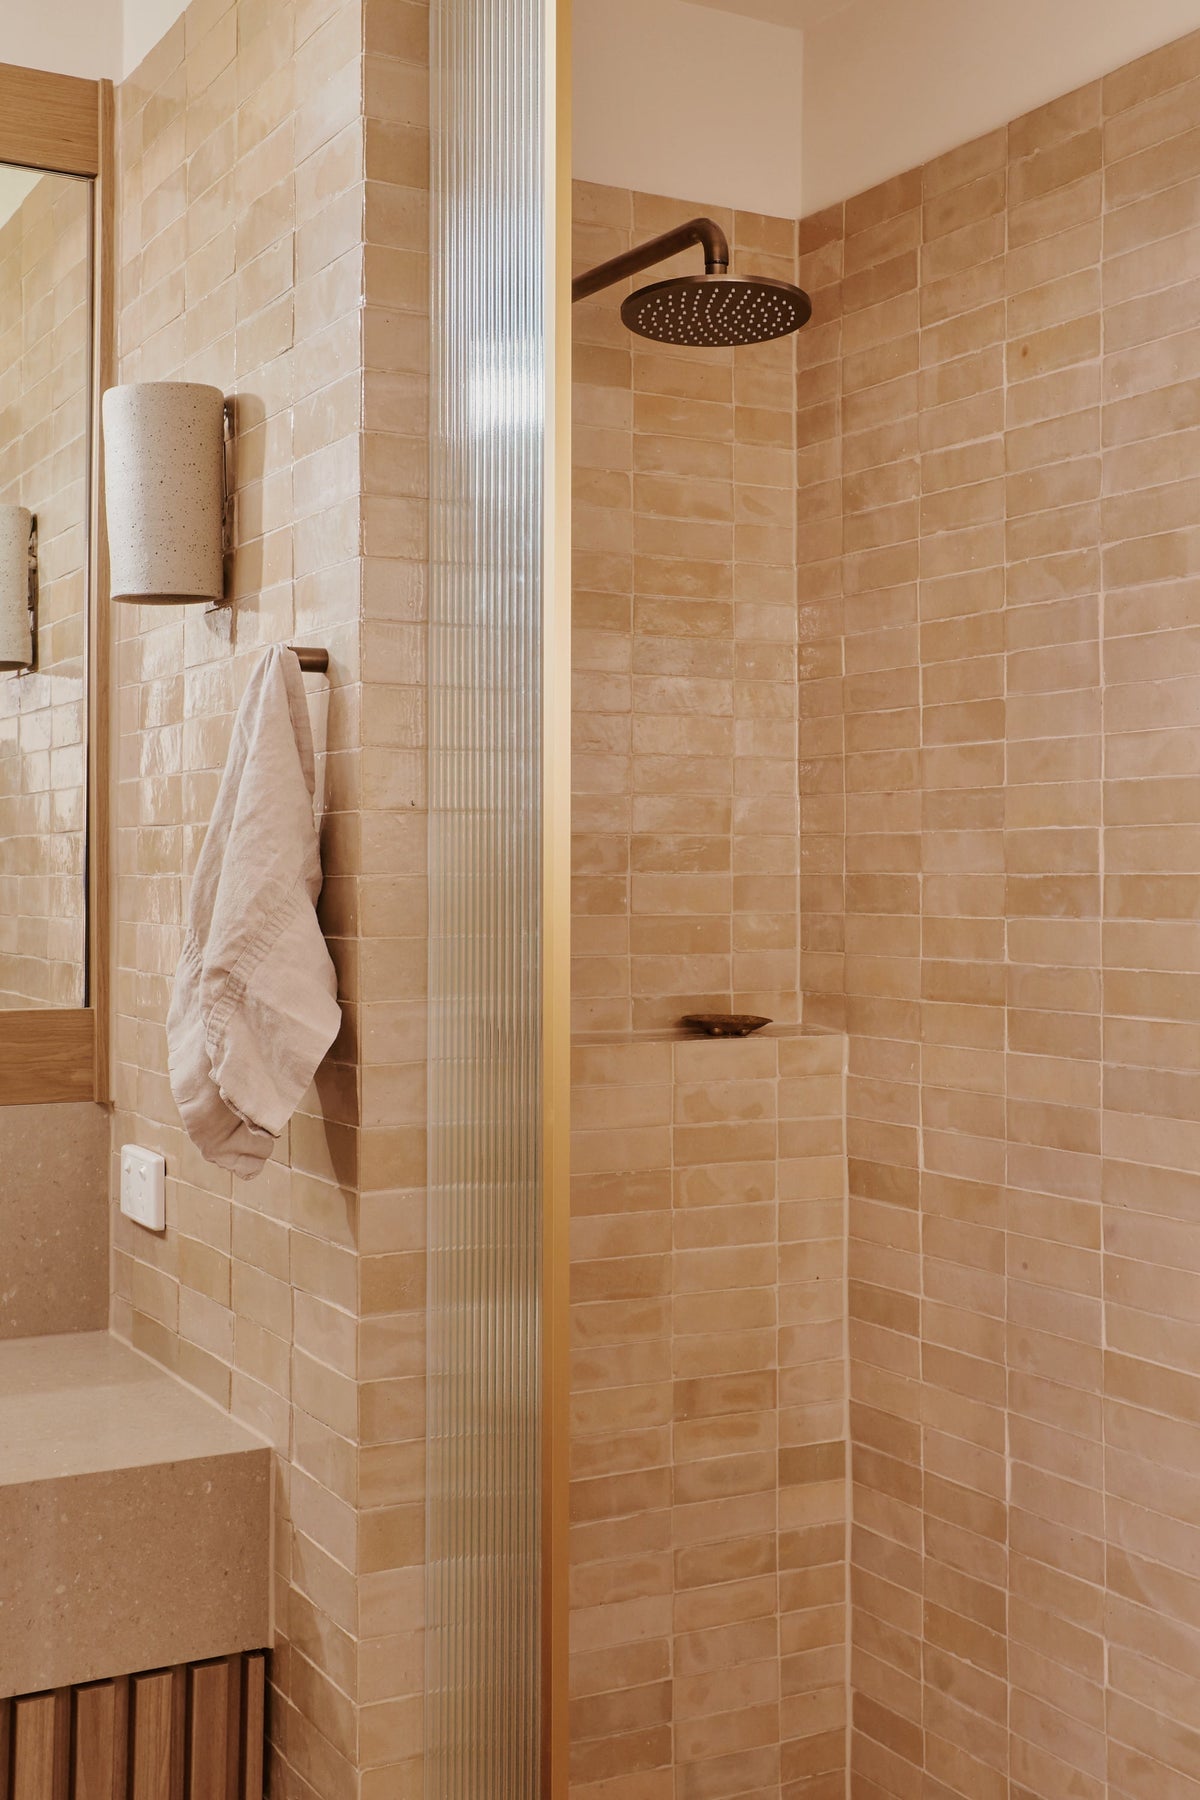
How it works: instead of finishing the edge with more tile, the wall's plaster, render, or in some cases a heavy grout fill is brought forward from the wall and finished flush over the raw tile edge, so the plaster line itself becomes the edge detail. The tile face stops, and the wall finish wraps over the tile edge, concealing the unglazed body completely.
For tilers and trade:
- Needs to be sequenced with the plasterer or renderer - form the return roughly before final tiling, then finish (skim or set) after the tile is in, so it sits flush and doesn't crack away from the tile edge.
- A heavy grout fill can substitute for a full plaster or render return on smaller, lower-traffic returns (like the underside of a niche), though it's less durable long-term on a high-wear external corner.
- The most straightforward of the three methods to execute well, since render and plaster returns are a standard skill for most tilers and plasterers.
For homeowners and designers:
- Reads as more architectural and minimal - the tile appears to "float" against a clean plastered edge, rather than the material change being celebrated.
- The most budget-friendly of the three trim-free options.


Method 3: Recessed, Flush Set-Back Finish
Sidesteps the raw-edge problem altogether by never exposing an edge in the first place.
How it works: the tile is set back slightly from the outer edge of the wall or niche, sitting recessed within a plastered reveal, so it finishes flush with - or just behind - the surrounding plaster rather than sitting proud of it. There's no tile edge exposed to finish, because the plaster wraps the opening and the tile sits inside that frame.
For tilers and trade:
- The recess or niche needs to be set out correctly from the framing and waterproofing stage - this can't be retrofitted once tiling has begun.
- The most forgiving and consistent of the three methods to execute, since there's no mitre cut or return finish to get right.
For homeowners and designers:
- Gives the cleanest, most minimal look of the three finishes, with the plastered reveal reading as an intentional frame around the tiled surface.
- Best suited to niches, shelving and recessed panels - less useful for an open external edge like an upstand or benchtop return, where there's often nothing to recess into.
- This is a decision to raise with your builder or designer early, at the design or framing stage - not something to solve once tiling starts.
Method 4: Pencil Trim, Liner or Listello Strip
A middle-ground option between a raw metal trim and a full mitred corner - finishing the edge with a decorative strip rather than concealing or disguising it.
How it works: a slim strip - typically marble, ceramic pencil trim, a pencil liner, or a moulding/listello profile - is set into the edge, either capping the exposed side of the tile or sitting as a border between the tile and the return or adjoining surface. Unlike an aluminium L-strip, this reads as a considered design detail rather than a functional trim, since the material and profile are chosen to complement (or deliberately contrast with) the tile itself.
For tilers and trade:
- Setting out matters here - the pencil trim or listello needs to be planned into the tile layout before the job starts, since it usually sits on a modular line (matching the tile module or a fraction of it) rather than being added as an afterthought.
- Marble and stone pencil trims are typically pre-finished on the exposed face and edge, so there's no cutting or mitring of the trim itself required, though the adjoining tile still needs a clean, straight cut to butt against it.
- Grout joint width and colour either side of the trim should be planned to match the rest of the installation, or it will visually compete with the trim rather than frame it.
For homeowners and designers:
- This is the most "designed" of the four options - it introduces a second material and a visible line as an intentional feature, rather than trying to hide the join.
- A marble pencil liner against Zellige, or a contrasting ceramic pencil trim against Tierra or Amano, is a common way to add a border detail to a splashback or shower niche without changing the field tile.
- Cost sits between a plaster return and a full mitred corner - you're paying for an additional material and more precise setting-out, but not the specialist labour a mitre requires.


How Zellige, Tierra & Amano Edges Differ
All three finishing methods above apply across Zellige, Tierra and Amano, but how easy - or forgiving - each one is to execute changes depending on how the tile is made.
Zellige (hand-cut, hand-glazed) The most naturally variable of the three ranges - thickness, edge shape and glaze pooling shift noticeably from tile to tile, since each one is hand-cut and hand-glazed. This makes mitring the most difficult and time-intensive to execute on Zellige; every mitre is effectively a custom fit. It's also the range where that irregularity is most part of the appeal, so many installers and designers lean toward a plaster or render return specifically to let the raw handmade edge and the flat plaster read as a deliberate contrast, rather than disguising it entirely with a mitre.
Tierra (glazed ceramic) Made with far more dimensional consistency than Zellige, which makes it the easiest of the three ranges to mitre well. A tiler can template a mitre cut and repeat it with confidence, since tile-to-tile variation is minimal. If a seamless, no-trim mitred corner is the goal but installation time and cost need to stay down, glazed ceramic ranges like Tierra are the most forgiving to attempt it on.

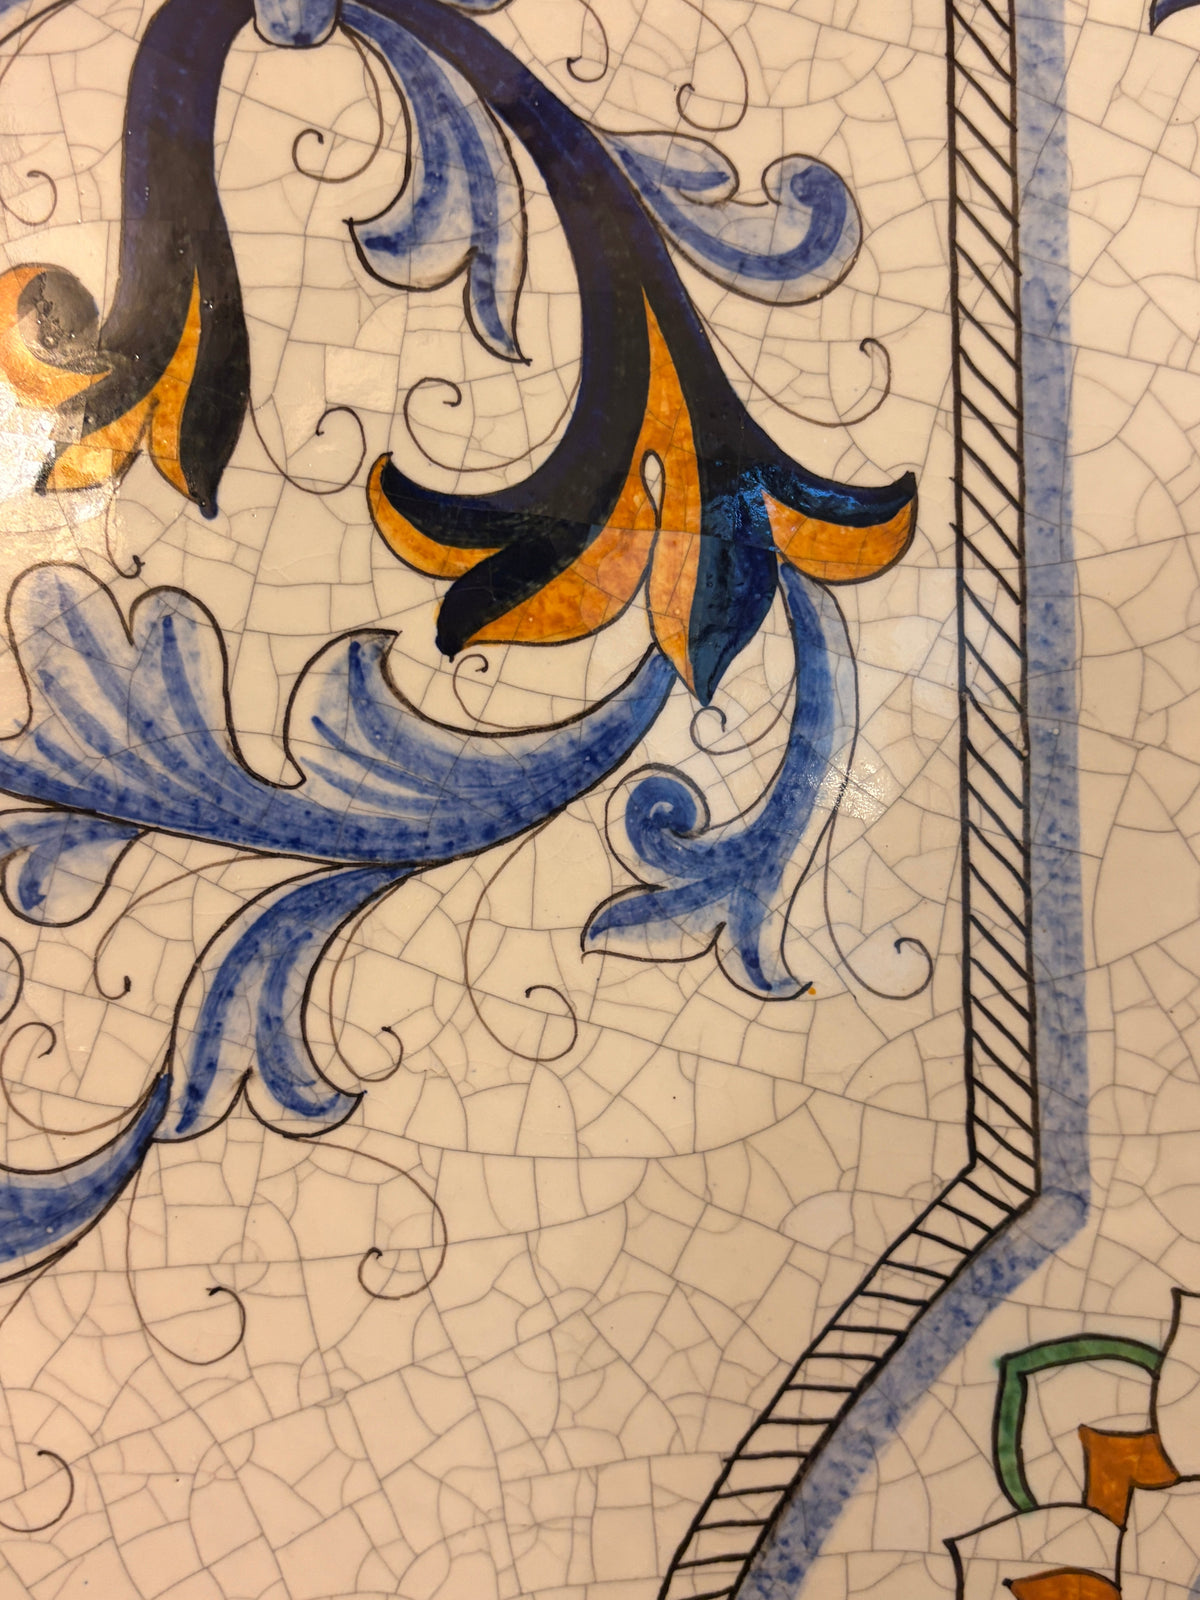
Amano (handpainted ceramic) Sits in between the other two - the tile body itself is dimensionally consistent like Tierra, but the handpainted and patterned tile can vary in exactly where it stops at the edge, since it's applied by hand rather than run to a machine-set line. This matters most for mitred corners, where an uneven glaze line right at the join can read as unintentional rather than characterful. It's worth reviewing the specific tiles going into a mitred corner before cutting, or asking your tiler to select return pieces where the handpainted pattern and glaze line sits consistently, rather than mitring at random from the box.

Which Edge Finish Should You Choose?
- Want zero visible trim and have the budget for specialist tiling time? A mitred corner gives the truest, most seamless finish on any handmade or glazed ceramic tile - easiest to achieve on Tierra, hardest (but most rewarding) on hand-cut Zellige.
- Want a cost-effective, easy-to-execute option most trade tilers can deliver well? A plaster or render return is the most common choice across Zellige, Tierra and Amano for a reason.
- Still in the design or framing stage of your build? Ask your builder about a recessed set-back so the question of how to finish the edge never comes up at all.
- Want to turn the edge into a visible design feature rather than hide it? A pencil trim, liner or listello strip in marble or ceramic adds a deliberate border detail, at a cost and skill level between a plaster return and a full mitre.
Whichever finish you choose, discuss it with your tiler before the tiles are laid - the edge finish you want changes how the substrate and any niches or returns need to be set out from the very beginning of the job.
For more on working with our handmade and handpainted ranges, see our Installation Guides for Zellige, Amano and Tierra.
Frequently Asked Questions
Do I need an aluminium trim to finish a Zellige edge? No. Mitring the tile, returning plaster or render over the edge, or setting the tile back into a recessed reveal are all trim-free alternatives commonly used by tilers working with handmade tile.
Can Zellige be mitred like stone or timber? Yes, but it's more difficult than mitring a dimensionally consistent tile like Tierra, because each Zellige tile varies slightly in thickness and shape. It requires a skilled tiler and should be quoted as a specialist detail.
What's the cheapest way to finish an exposed handmade tile edge? A plaster, render or grout return is generally the most cost-effective trim-free option, since it uses standard trade skills rather than a specialist mitring technique
What is a pencil trim or listello, and can it be used with Zellige, Tierra or Amano?
A pencil trim, liner or listello is a slim decorative strip - usually marble or ceramic - set into or alongside the tile edge as a border detail. It works with all three ranges and needs to be planned into the tile layout before installation begins.